



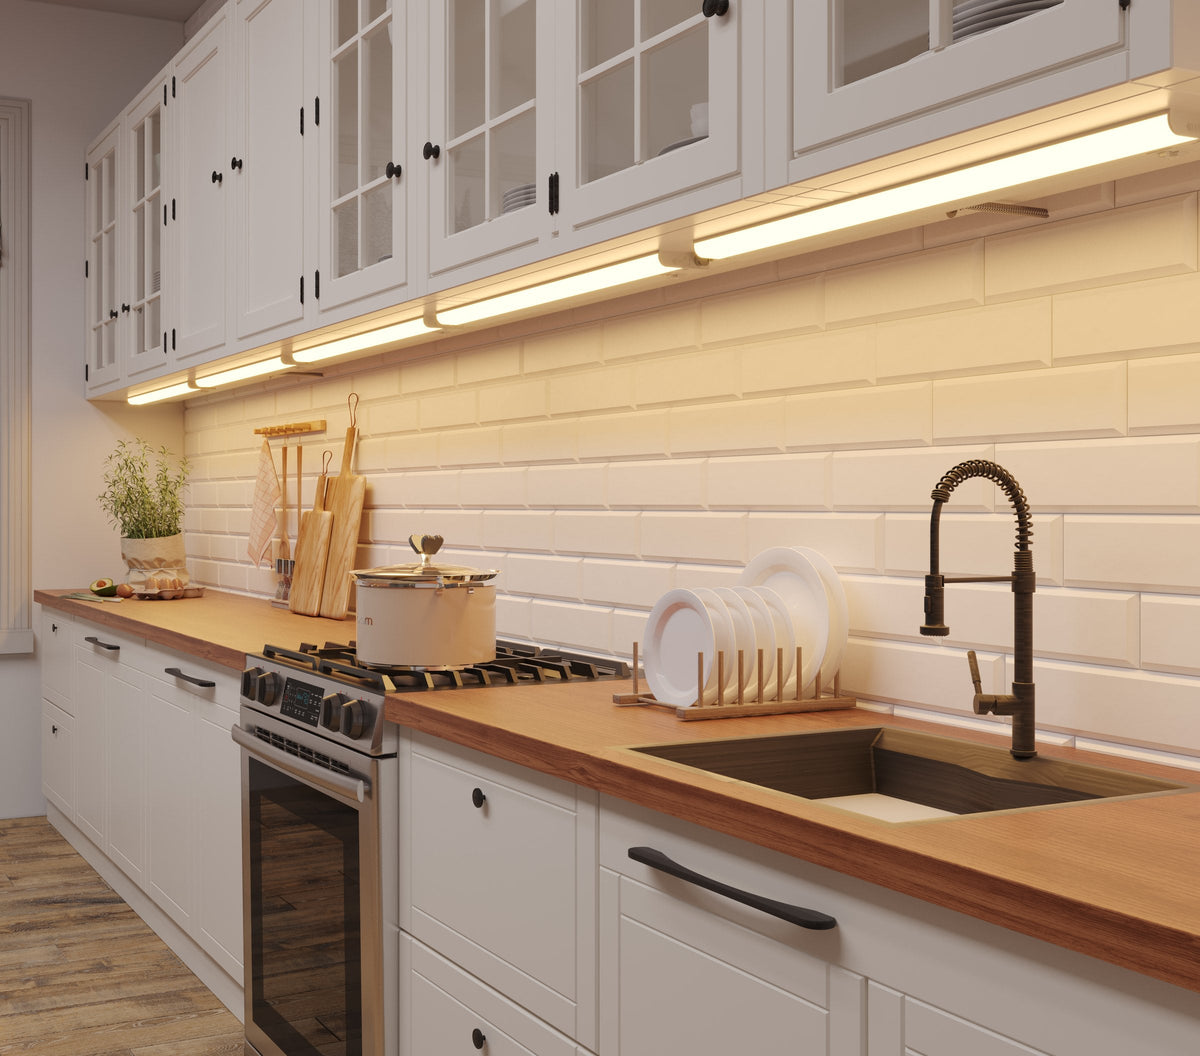
Most kitchens need more than one light to cover the whole counter. You do not need a separate power feed for each one. Every INLIGHT under cabinet light with a hardwire option can be daisy-chained, so one supply cable powers the first light and each light passes power on to the next.
What you need for each link
For every connection between two lights, prepare:
- One extra set of wires (black, white and green/copper) long enough to reach the next fixture
- One Romex (cable) connector for the knockout
The wire nuts in the box handle the splices.
Step 1: Wire the first light as usual
Hardwire the first light exactly as you normally would: bring the supply cable in through a knockout and secure it with the connector. Before you close it up, open a second knockout on the same light. This is where the link to the next light will exit.
Step 2: Join three sets of wires
Inside the first light, you now join three things with a wire nut for each color: the fixture's own wires, the supply wires, and the extra set of wires for the link.
- Black to black
- White to white
- Green or bare copper to green
Twist each group firmly under its wire nut and give each wire a gentle tug to confirm it is secure.
Step 3: Feed the link to the next light
Run the extra set of wires out through the second knockout, using the Romex connector, and into the next fixture.
Step 4: Repeat at the next light
At the second light, connect the incoming wires to the fixture wires the same way: black to black, white to white, green/copper to green. That is a complete two-light daisy chain. To add a third light, open a second knockout on the second light and repeat.

Before you start
- Turn off power at the breaker.
- Check the maximum linked load printed on the fixture label and in the instructions, and stay under it.
- On IN-0201 multi-color (3-CCT/5-CCT) models, the switch end does not have room for wiring, so plan your links through the other end. See our IN-0201 side-entry wiring guide.
- Follow your local electrical code. Hardwired installation should be done by a qualified electrician.
Share:
IN-0201 Side-Entry Wiring: When You Need It and Which End to Use
Using a Wall Dimmer with IN-0102 Puck Lights